AlexHost is more than just a hosting provider – it’s a company built around people. With a strong focus on creating a collaborative and committed culture, AlexHost ensures that every client receives reliable, personalized service. Their team is at the heart of everything they do, which allows them to recruit and retain top talent in the industry. If you ever need assistance, their dedicated staff is always available and approachable. Feel free to reach out through social media – they’ll be happy to help you at every step of your hosting journey.
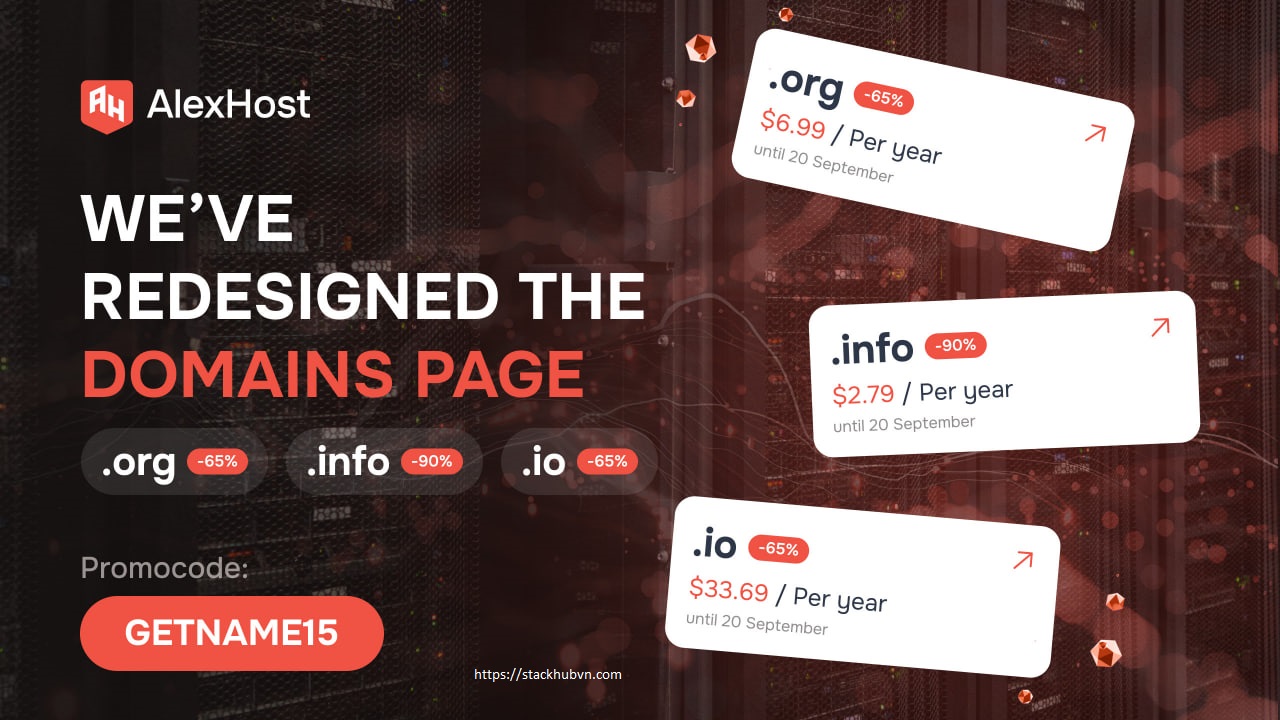
Domains Page Redesign – Faster, Smarter, Simpler
We’ve completely redesigned the Domains page to make finding and managing your domains easier than ever:
- Instant search
- Category-based navigation
- Unified pricing & options cards
- Simplified transfers (including bulk)
Launch Deals (valid until September 20)
- .org → −65%
- .info → −90%
- .io → −65%
Extra Bonus Discount
- Extra −15% off all other TLDs with promo code: GETNAME15
- Don’t miss this chance to grab your domains at unbeatable prices!
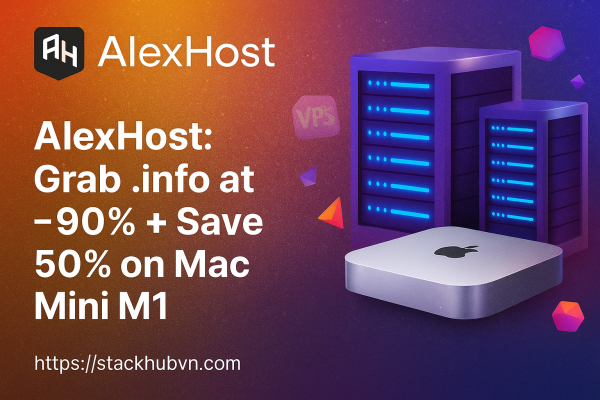
Save 50% on Mac Mini Dedicated Server
Tap into the power of Apple M1 — in the cloud!
Get full root access to a dedicated Mac Mini with Apple Silicon, perfect for:
- Development
- Automation
- MacOS-native workflows
Limited-Time Offer
- Use promo code: MINIHALF
- Get 50% OFF instantly
- Valid until October 1st
👉 Deploy your Mac Mini in the cloud today!
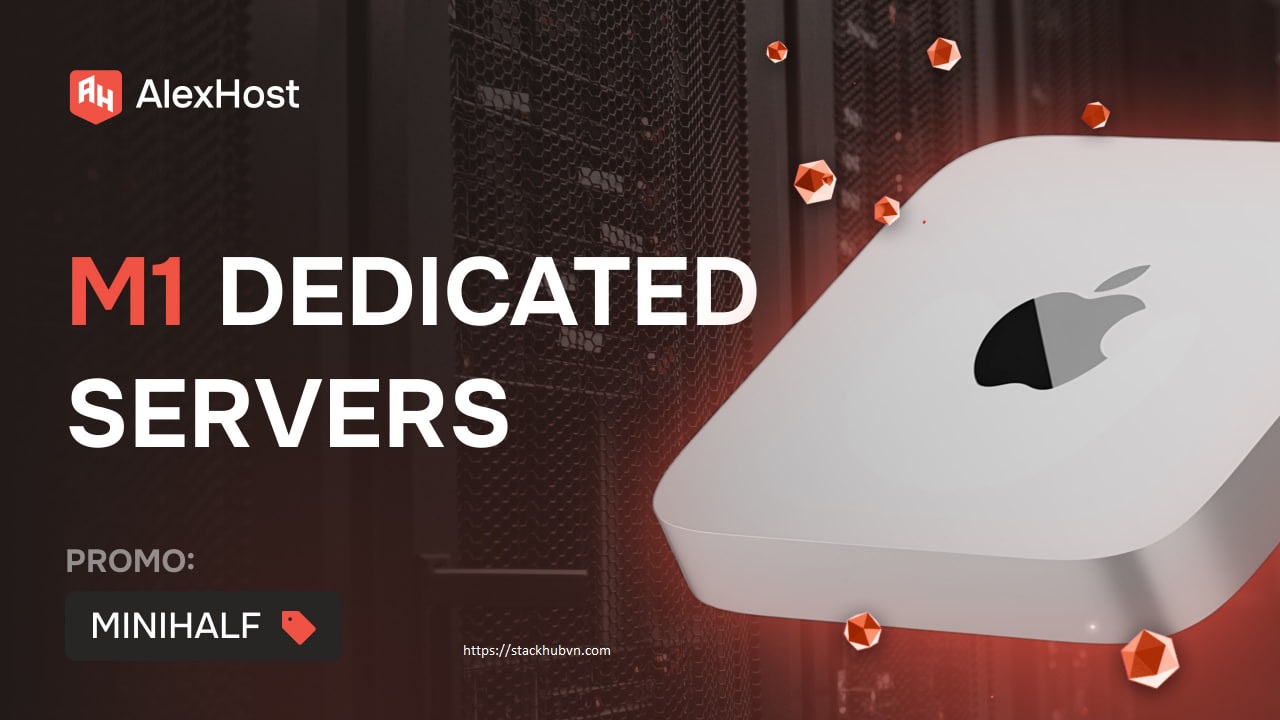
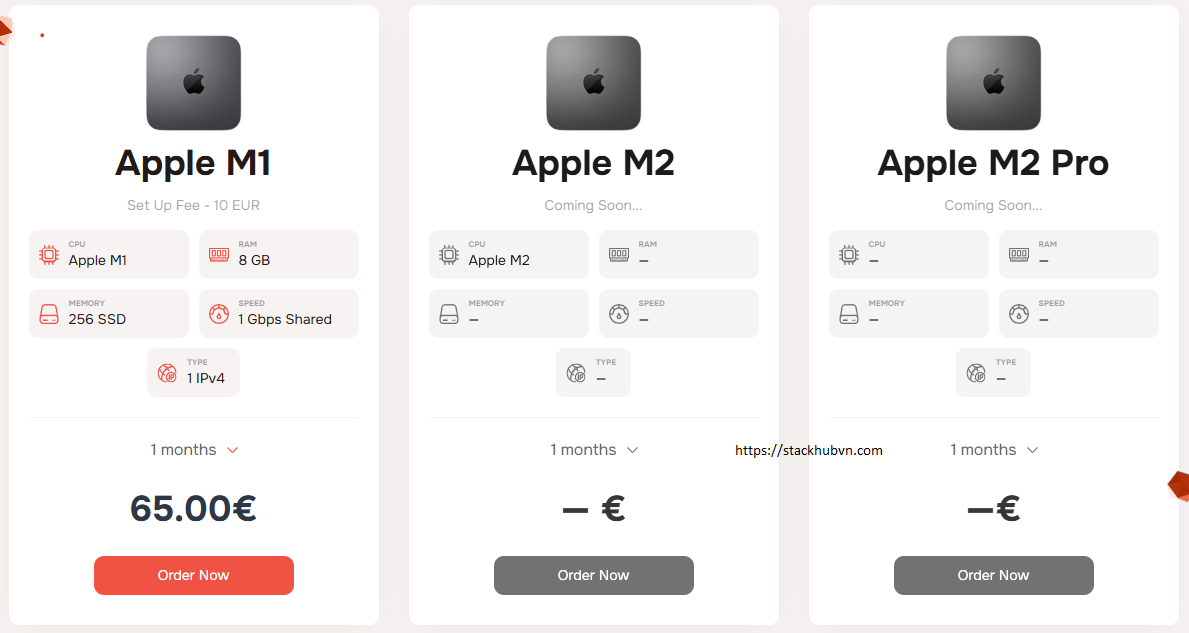
Apple M1 Dedicated Servers
Take your performance to the next level with Apple M1-powered dedicated servers – engineered for speed, energy efficiency, and a seamless macOS-native environment.
Key Benefits:
- Blazing-fast performance with Apple M1 chip
- macOS-native support – ideal for iOS/macOS app testing, development, and automation
- Full root access and remote desktop availability
- Low power consumption, high efficiency
- Perfect for developers, CI/CD workflows, or remote teams
👉 Order Now
How to Connect to a Mac Mini M1 Remote Desktop
If you’ve purchased a Mac Mini M1 dedicated server from AlexHost, follow this step-by-step guide to connect via Remote Desktop using RealVNC – the recommended method for secure, reliable access.
Why RealVNC ?
- Cross-platform support (Windows, macOS, Linux)
- Encrypted & secure
- Fast and lightweight
Step-by-Step Instructions:
1. Install RealVNC Viewer
- Visit the official RealVNC Viewer page.
- Download and install the version compatible with your OS (Windows/macOS/Linux).
2. Open RealVNC Viewer
- Launch the application after installation.
3. Establish a Connection
- In the VNC Server field, enter the IP address of your Mac Mini M1 (provided by AlexHost).
4. Authenticate
- You’ll be prompted for login credentials.
- Enter the username and password supplied in your AlexHost welcome email.
5. Start Remote Session
- Once authenticated, your remote Mac Mini desktop should load in a window.
- You can now use your Mac Mini just like a local machine – for development, automation, or any macOS-native workflow.
💡 Tip: For the best experience, ensure a stable internet connection and consider enabling Full-Screen mode in RealVNC Viewer.